Installing Yarn
Yarn is a package manager for JavaScript that is widely used in frontend projects to efficiently manage libraries and software packages. Yarn helps address issues related to installation speed, consistency, and security when managing project dependencies.
Step 1: Install Yarn
-
Install Yarn via npm:+
-
Yarn can be installed through npm (Node Package Manager). Make sure you have NodeJS and npm installed before proceeding.
-
To install Yarn, open your terminal or Command Prompt and run the following command:
npm install -g yarn
-
-
Install Yarn on macOS (via Homebrew):
-
If you are using macOS, you can install Yarn via Homebrew with the following command:
brew install yarn
-
-
Install Yarn on Linux (Ubuntu):
-
To install Yarn on Ubuntu, you need to add the Yarn repository to your system and run the following command:
sudo apt update && sudo apt install yarn
Yarn has been installed successfully! You can now start managing frontend libraries for your project.
-
Step 2: Verify Yarn Installation
-
Check Yarn version:
-
After successfully installing Yarn, you can verify the version by running:
yarn --version -
If the version number is displayed, Yarn has been installed successfully:
C:\Users\thuan>yarn --version
1.22.22
-
-
Check Yarn installation:
-
To make sure Yarn is installed correctly, you can run the following command to check its status:
yarn
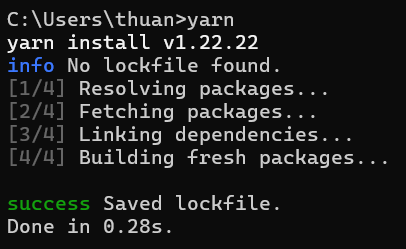
-