Installing SAM CLI
The AWS SAM CLI is a command-line tool that helps you develop, package, and deploy serverless applications using AWS Lambda, API Gateway, and other AWS serverless services. In this step, you will install the SAM CLI to develop the serverless backend for your dynamic e-commerce website.
Step 1: Install the SAM CLI
-
Install on Windows:
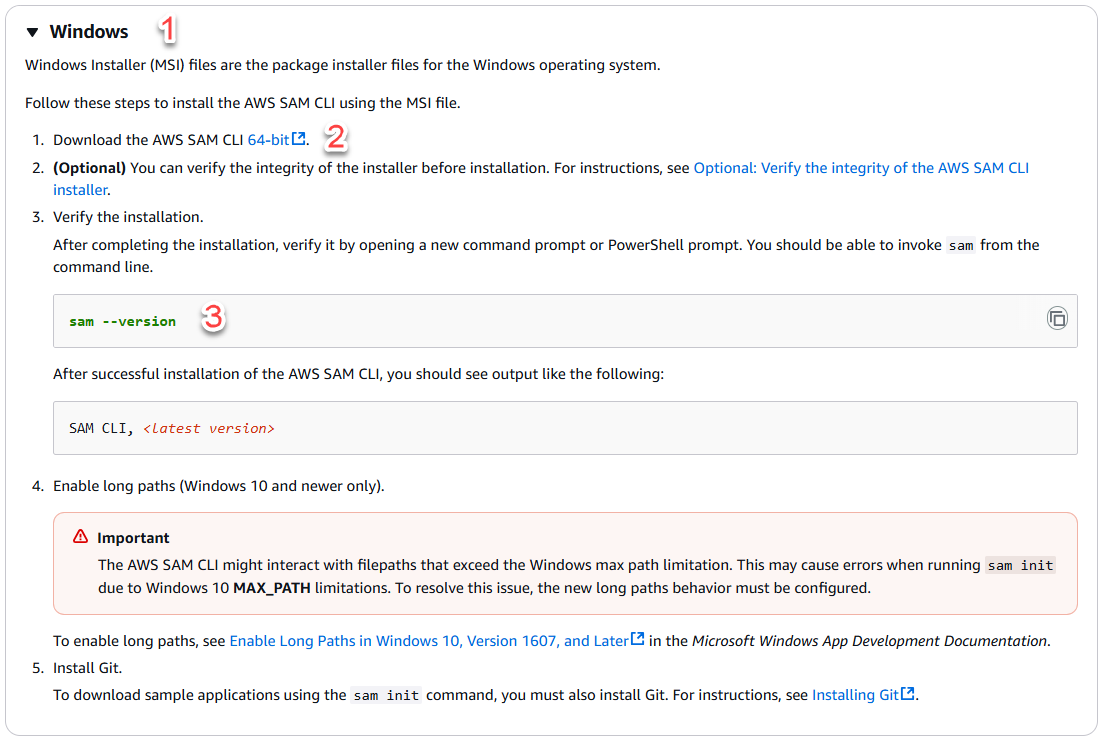
- Go to the Installing the AWS SAM CLI page to download the SAM CLI installer for Windows.
- Select Windows.
- Run the
.msiinstaller and follow the instructions to complete the installation. - Open your terminal and enter
sam --version.
-
Install on macOS:
-
Use Homebrew to install the SAM CLI:
brew tap aws/tap
brew install aws-sam-cli
-
-
Install on Linux (Ubuntu):
-
On Linux, you can use
aptto install the SAM CLI:sudo apt-get update sudo apt-get install aws-sam-cli
-
-
Install SAM CLI from source (if needed):
- If you prefer not to use the methods above, you can install the SAM CLI from source. Detailed instructions can be found at: Install SAM CLI from source.
The SAM CLI has been installed successfully! You can now start developing and deploying serverless applications with AWS.
Step 2: Verify SAM CLI Installation
-
Check the SAM CLI version:
-
After a successful installation, open your terminal (or Command Prompt on Windows) and enter the following command to check the SAM CLI version:
sam --version
-
-
Verify SAM CLI installation:
-
If the above command displays the version information of the SAM CLI, the tool has been installed successfully.
C:\Users\thuan>sam --version
SAM CLI, version 1.141.0
-