Deploy Frontend to S3 Bucket
Deploy Frontend to S3 Bucket
To make your frontend website available online, you will upload all built static files to an AWS S3 Bucket. S3 acts as a static hosting solution, helping distribute your website at low cost and high speed.
Steps to follow:
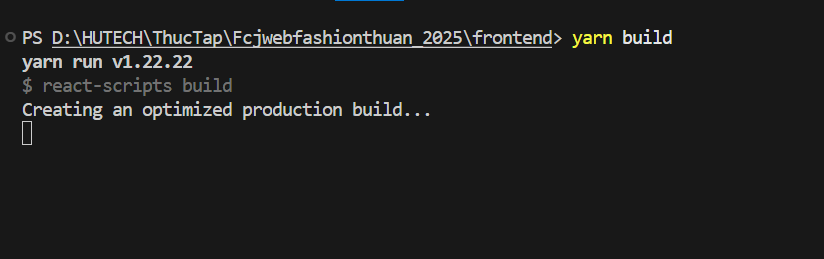
Step 1: Build the Frontend Source Code
- Open the terminal in VSCode and navigate to the
frontenddirectory. - Copy and paste the following command into the terminal:
yarn build - The
buildfolder will contain all static files that need to be uploaded. - Wait about 1 minute for the build process to complete.
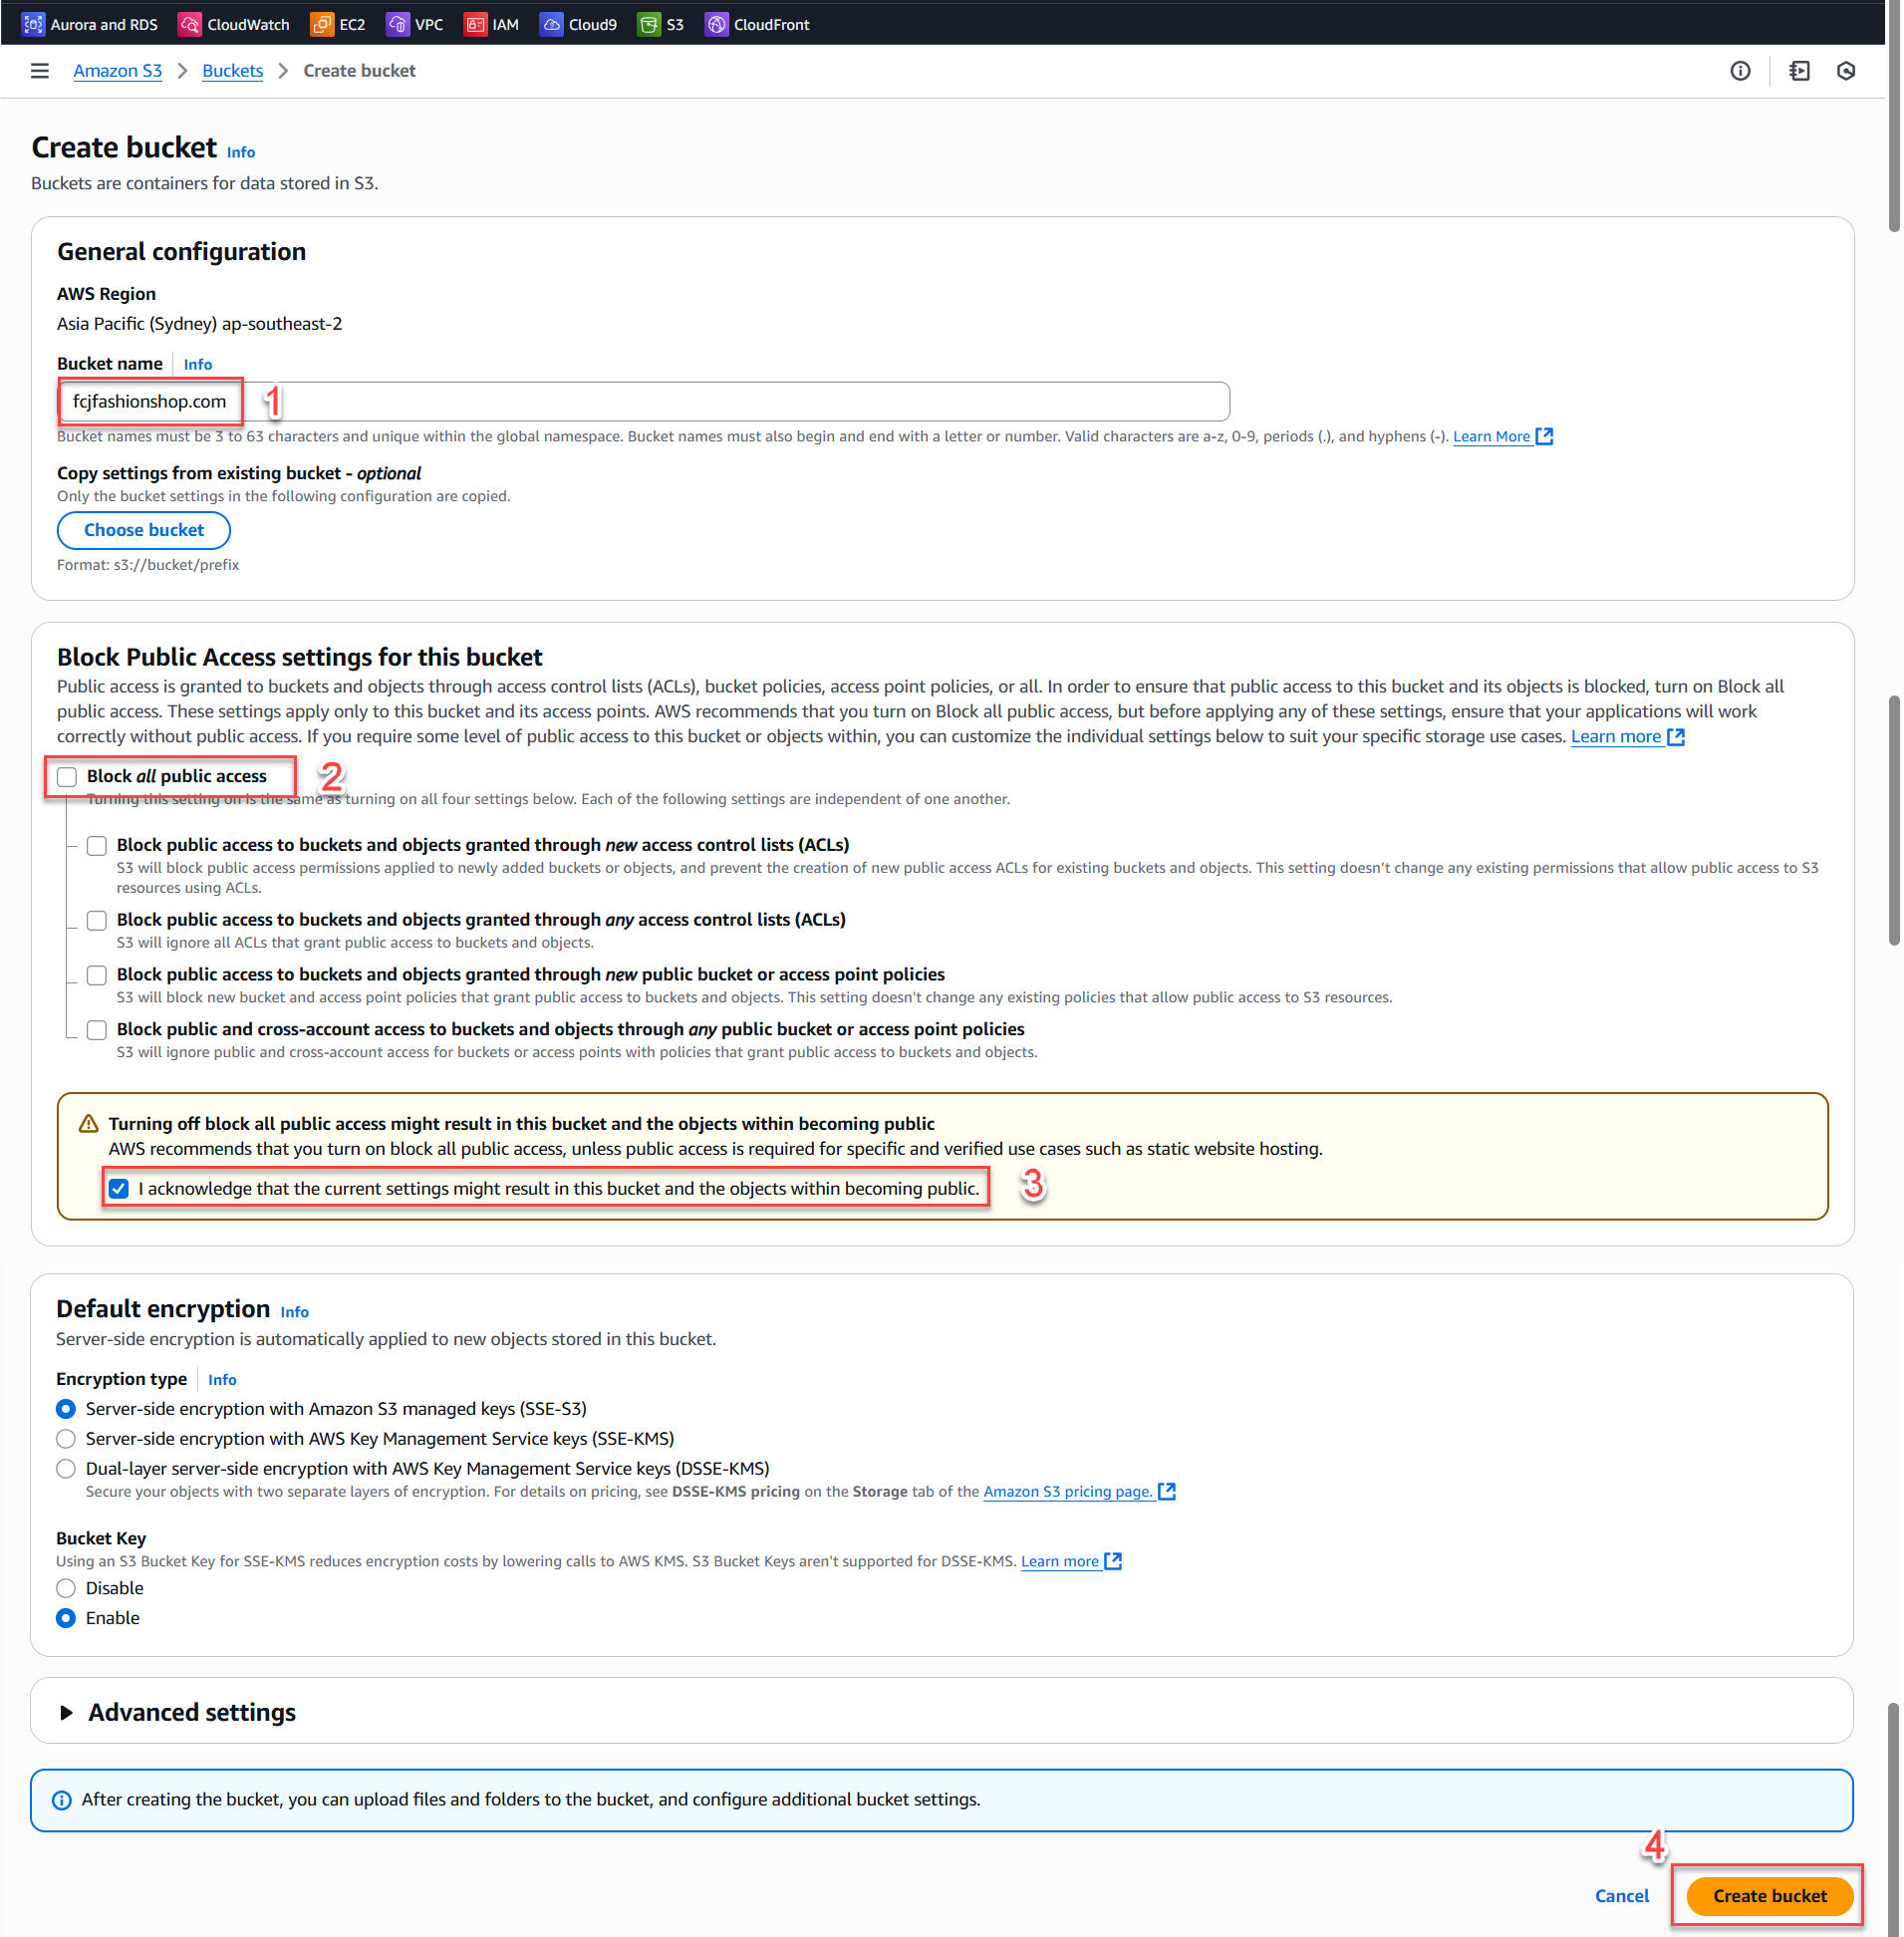
Step 2: Create S3 Buckets
- Create an S3 Bucket for the Frontend
- Go to the AWS S3 Console.
- Click Create bucket.
- Enter a bucket name, for example:
fcjfashionshop.com. - Region: Select the same region as your backend (recommended: ap-southeast-1 for consistency).
- Disable “Block all public access”.
- Check I acknowledge that the current settings might result in this bucket and the objects within becoming public to acknowledge the warning and allow your website to be public.
- Click Create bucket to finish.
Caution:
A static website bucket must have public read access enabled for everyone. However, do not upload sensitive data to this bucket as anyone with the link can access it!
-
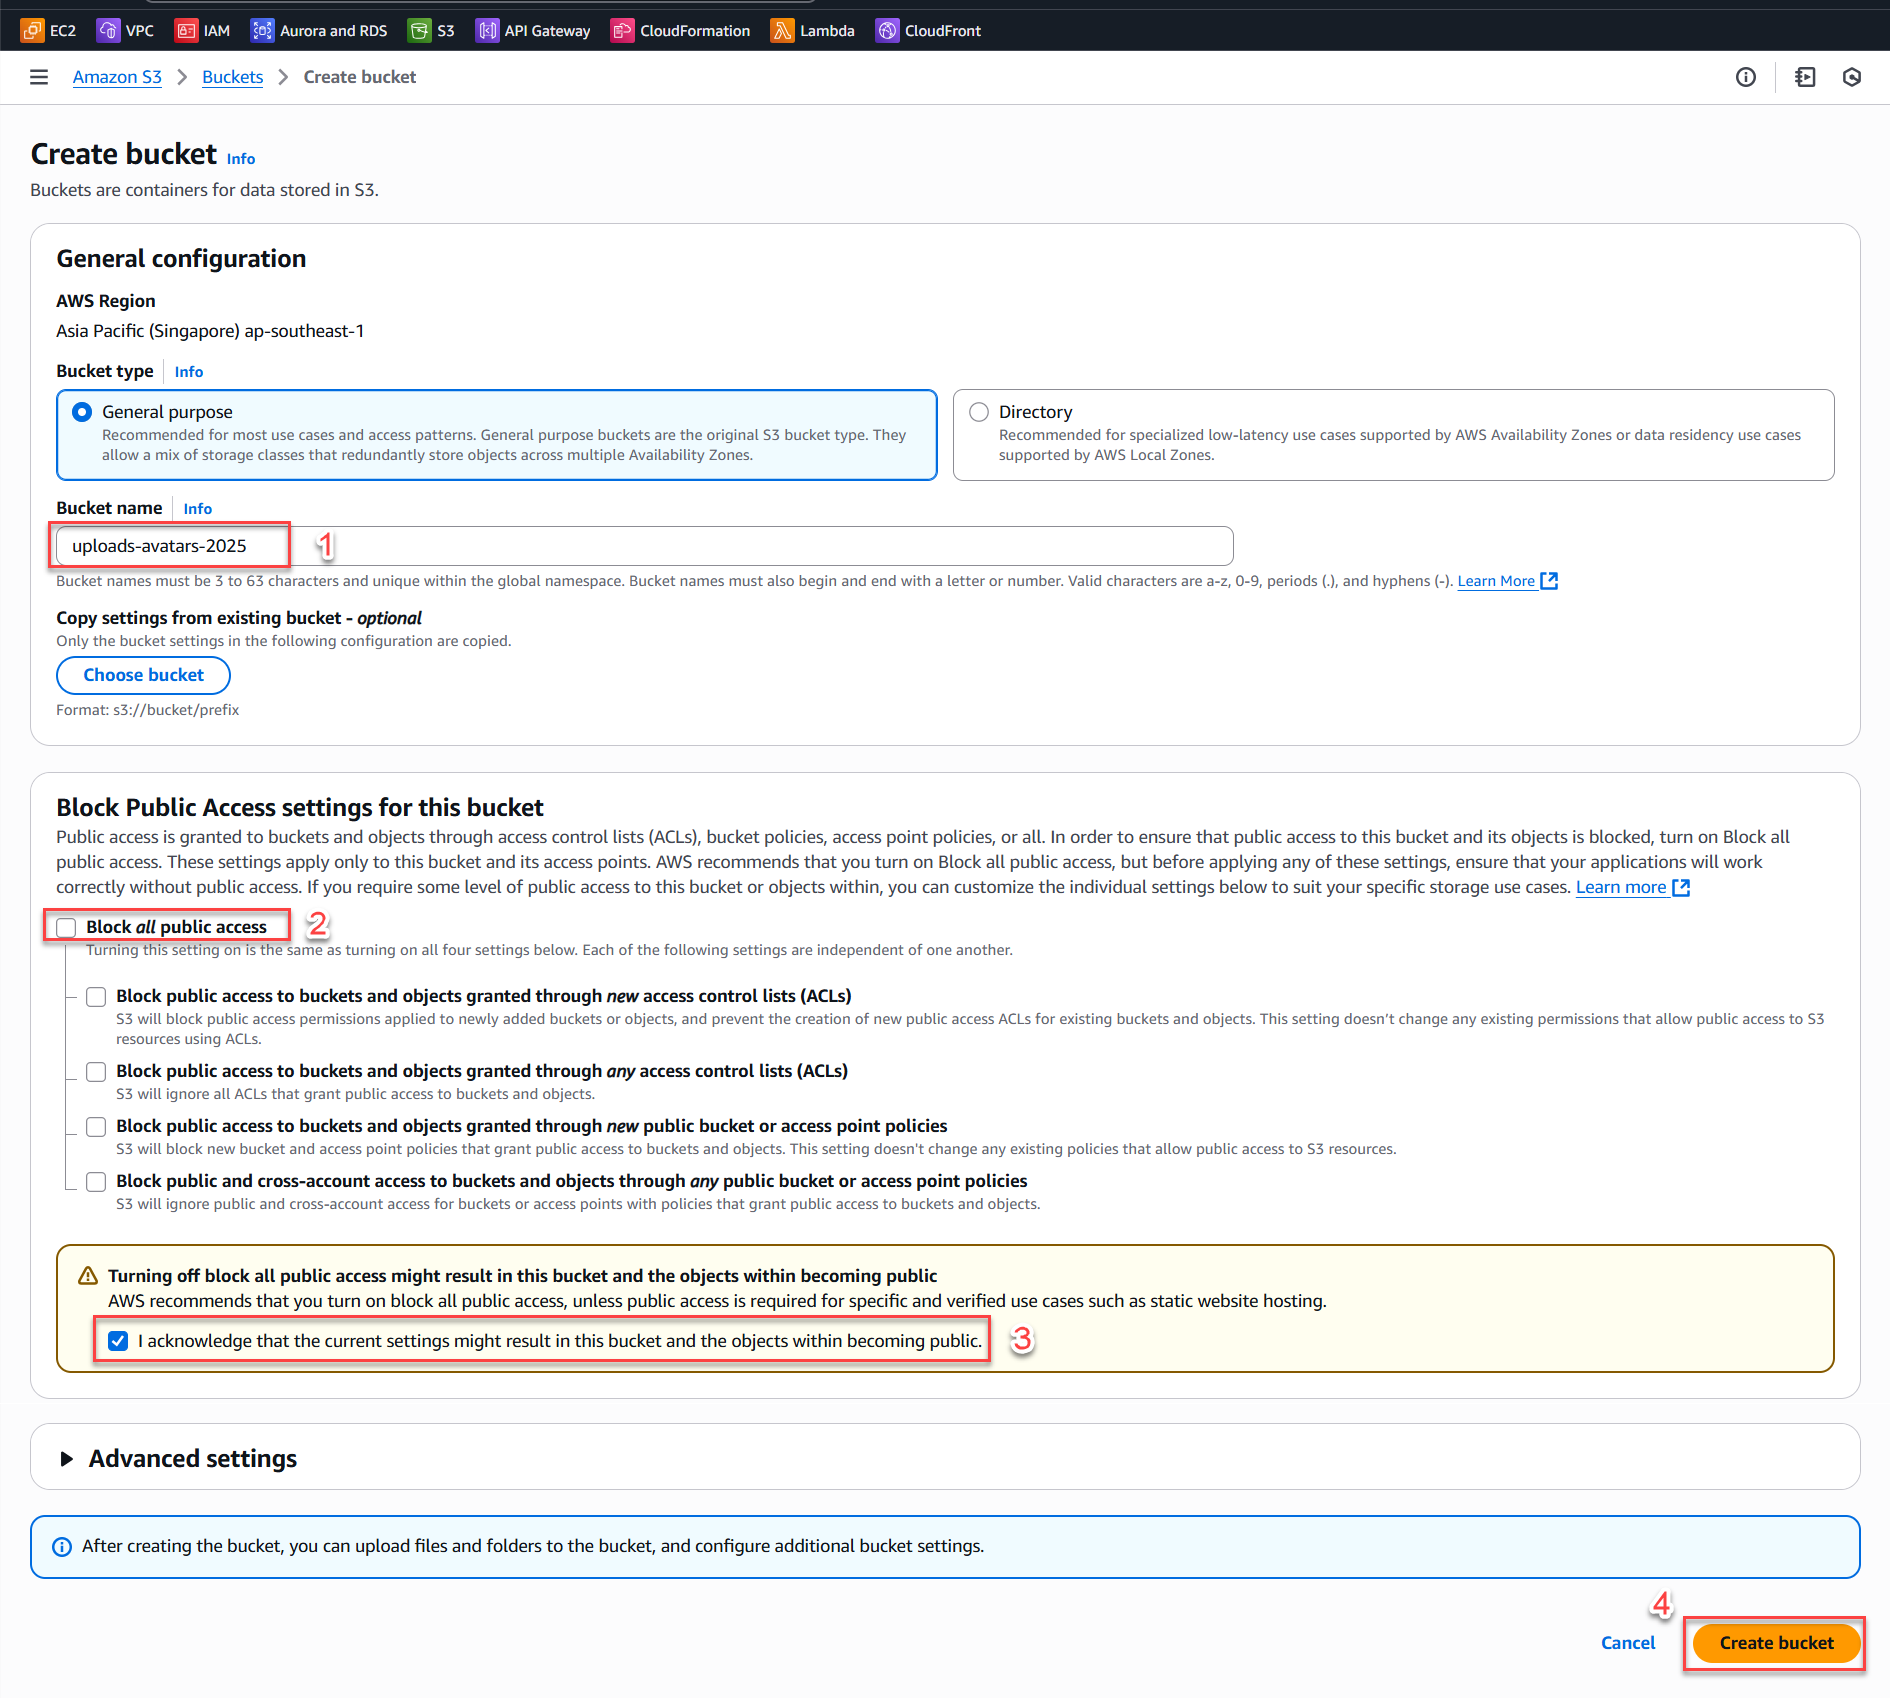
Create an S3 Bucket for Uploaded Images/Avatars
- Go to the AWS S3 Console.
- Click Create bucket.
- Enter a bucket name, for example:
uploads-avatars-2025(choose an identifiable, non-accented name). - Region: Choose the same region as your system.
- Disable “Block all public access” (uncheck the box), acknowledge the warning to allow public access for image files.
- Check I acknowledge that the current settings might result in this bucket and the objects within becoming public.
- Click Create bucket to finish.
Caution:
If you set the upload/avatar bucket to public, anyone with the file link can view the images. Do not upload sensitive information to this bucket!
Step 3: Upload the Built Frontend to S3 Bucket Using AWS CLI
-
Make sure you have installed and configured AWS CLI (ran
aws configure). -
Run the following command:
cd frontend
aws s3 cp build/ s3://fcjfashionshop.com/ --recursive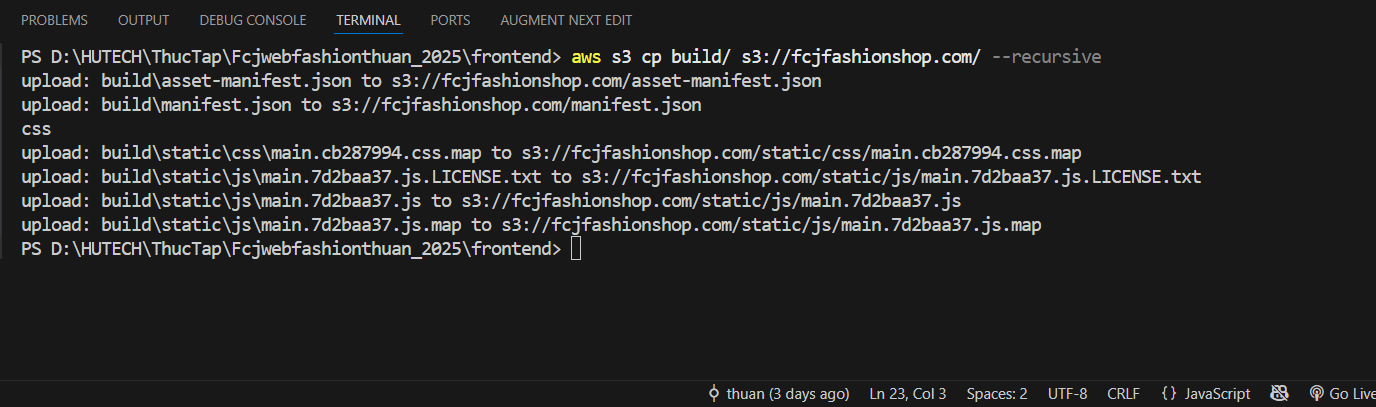
-
The
--recursiveflag helps upload all files and subfolders inside the build directory.
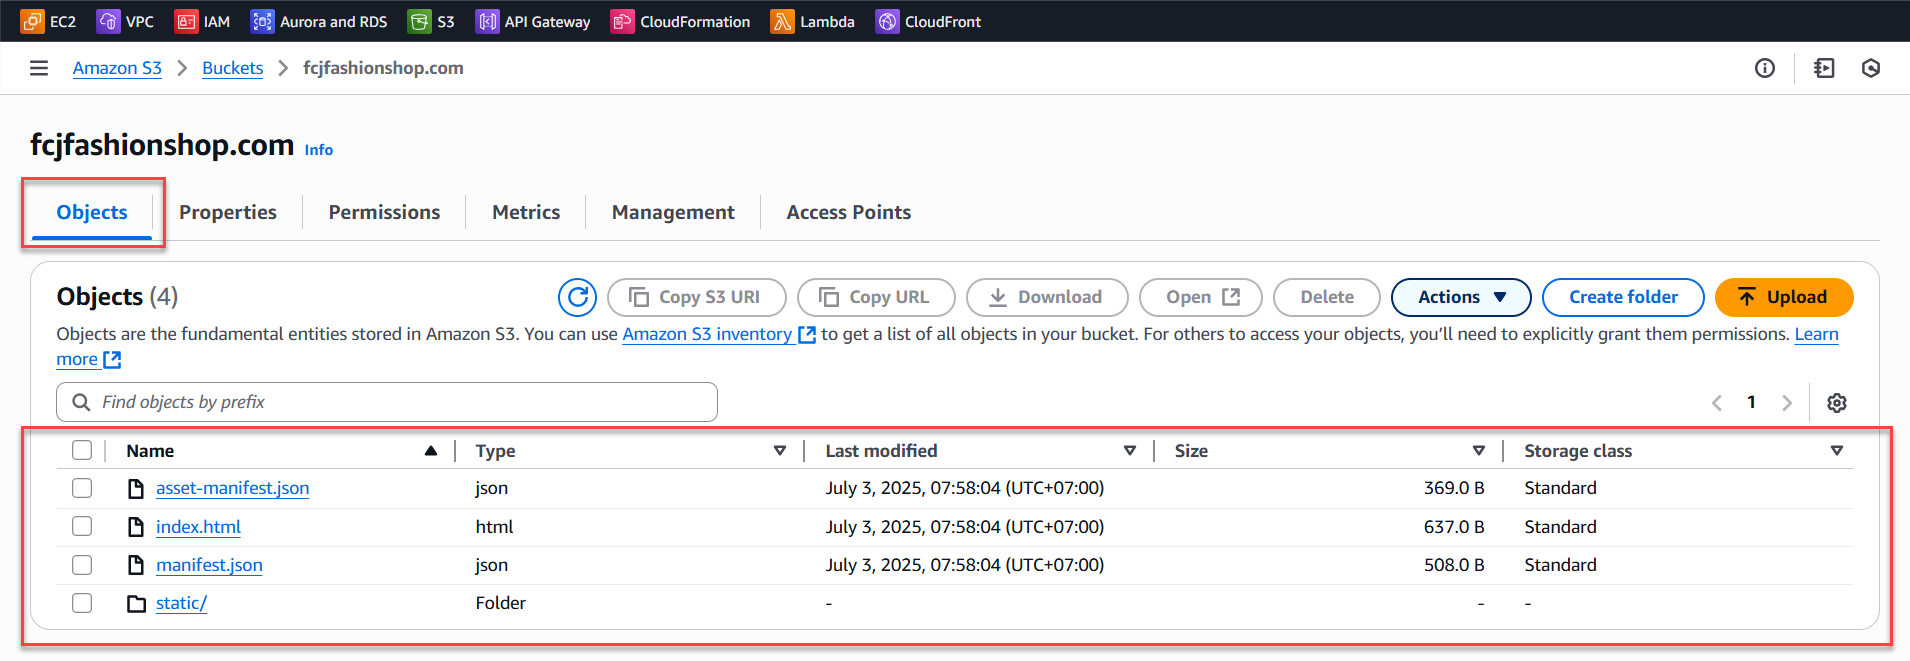
Verify Bucket Contents
-
Go back to the bucket in the AWS Console and verify that all files (index.html, main.js, CSS, images, etc.) have been uploaded successfully.
-
You can click directly on a file (e.g.,
index.html) and copy its Object URL to check if the file is publicly accessible (you should see the HTML/raw file in your browser). -
You can check the files and folders uploaded to S3 by browsing the Objects section.
After completing the above steps, you have successfully uploaded your frontend website to AWS S3.